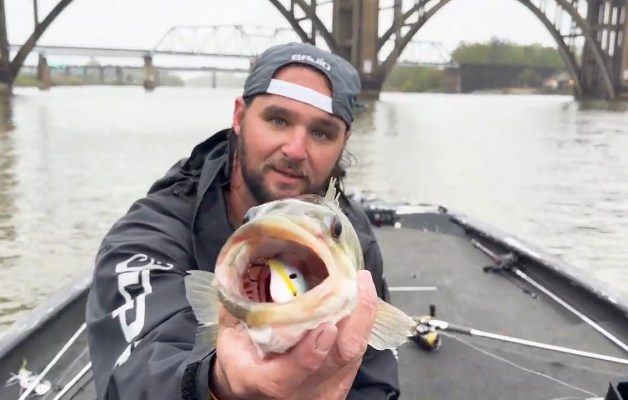
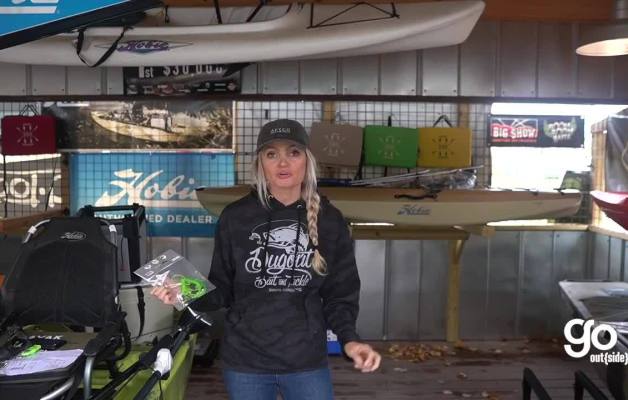
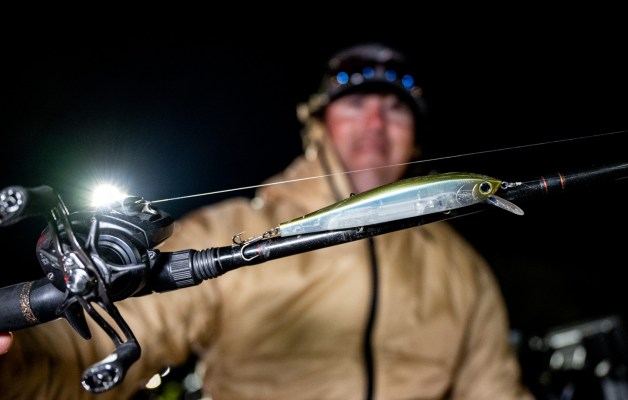
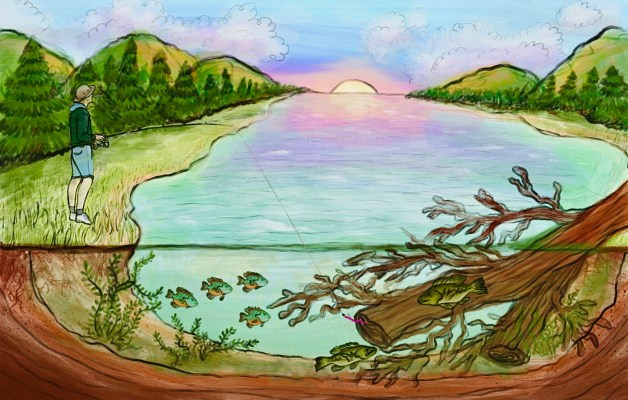
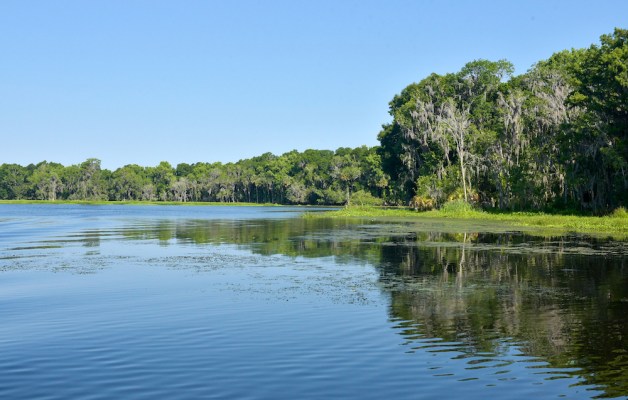
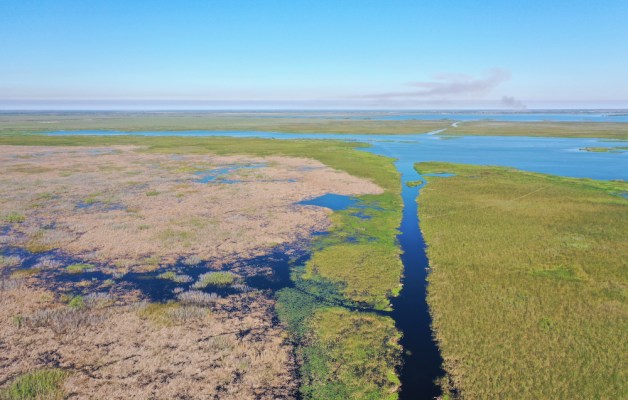
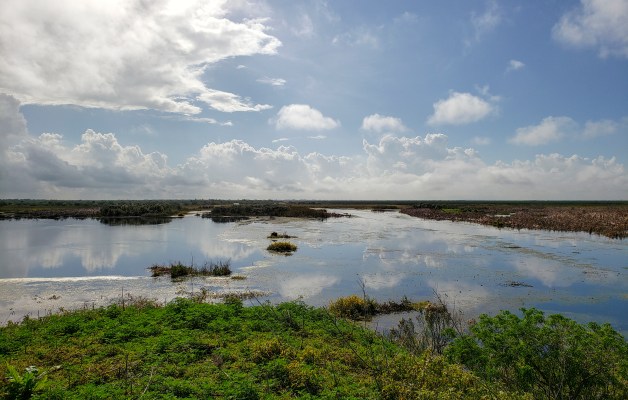
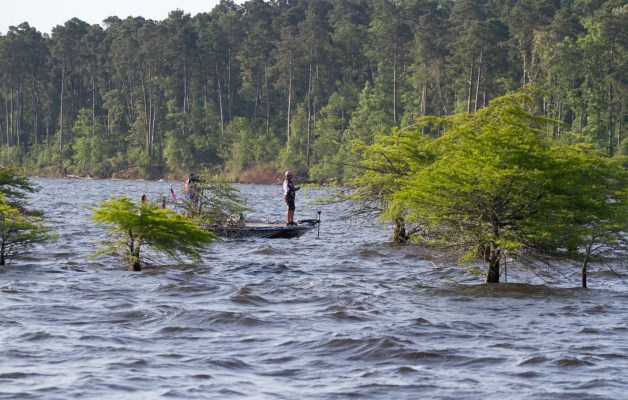
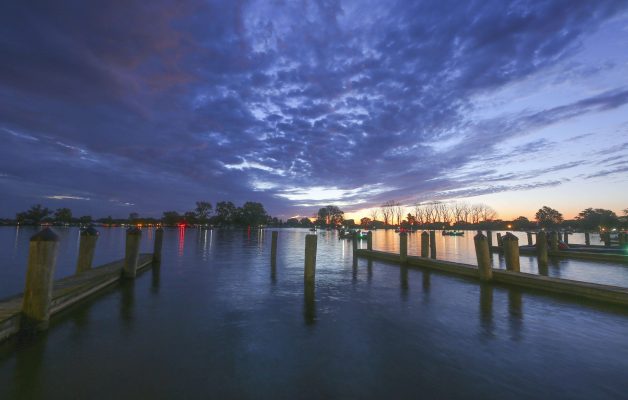
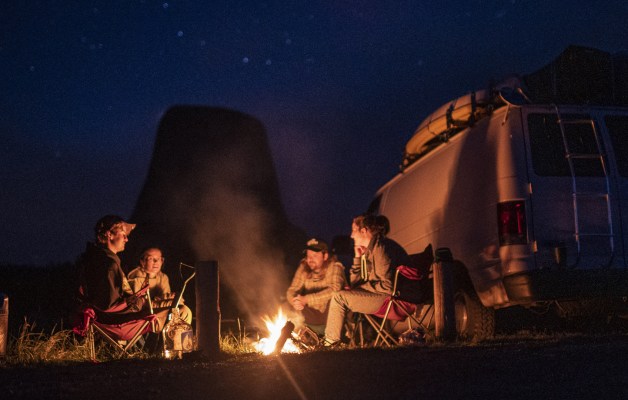
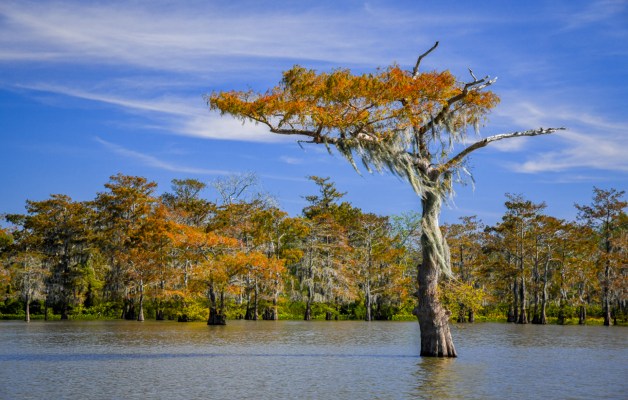
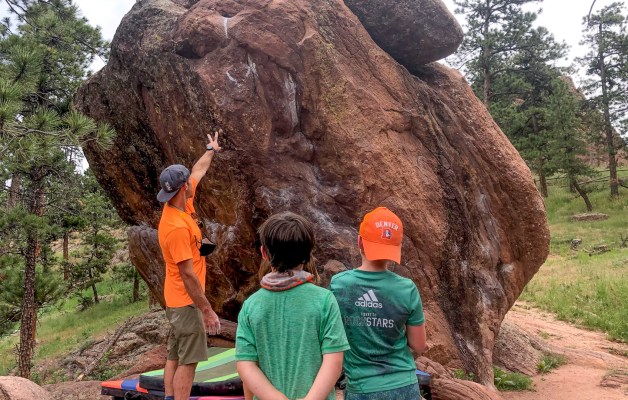
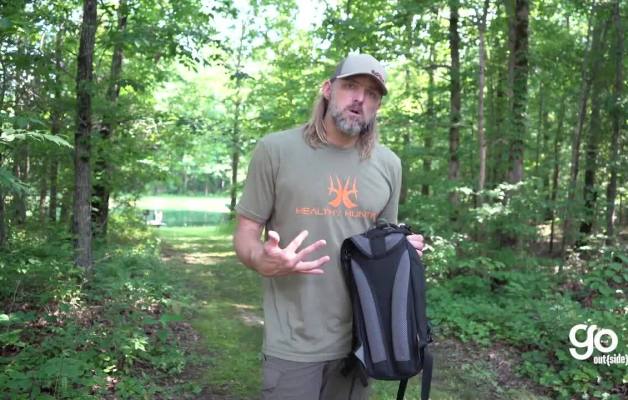
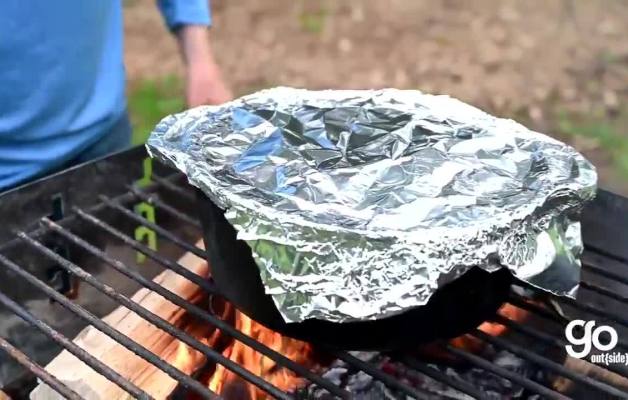
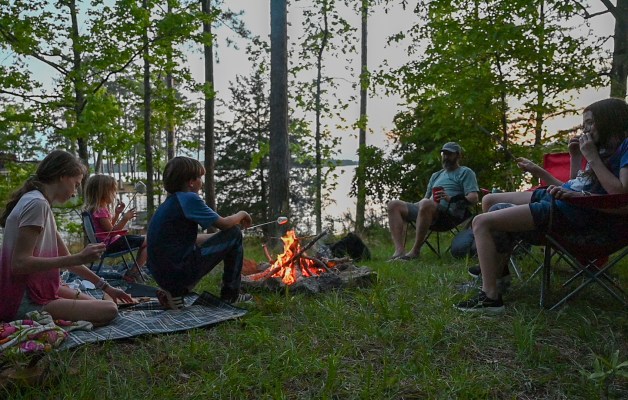
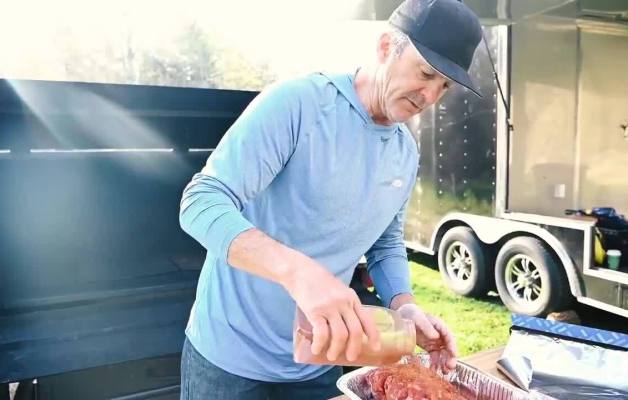
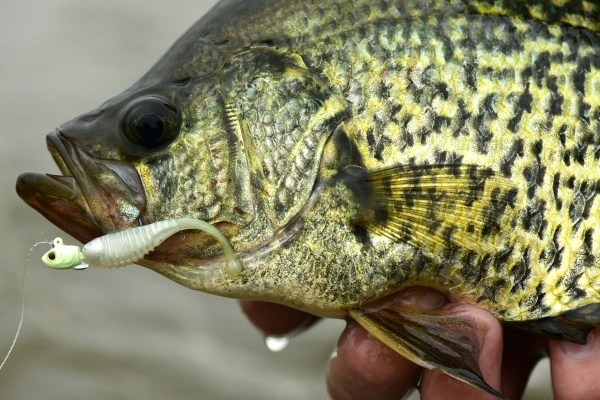
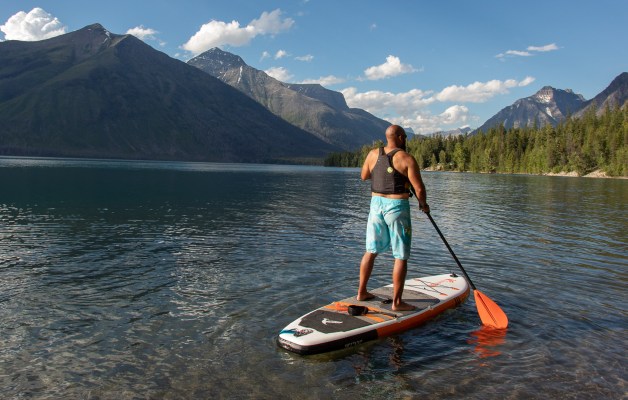
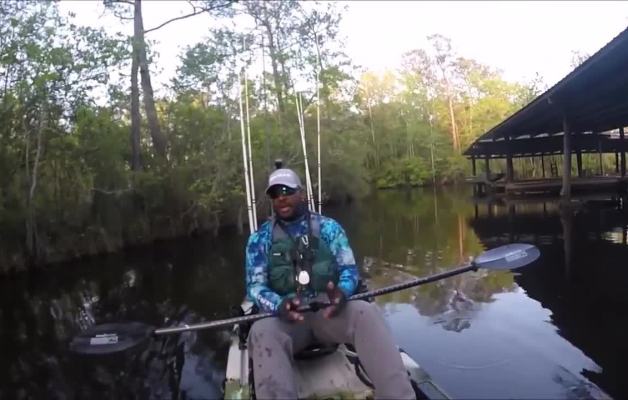
Tips and tricks on how to get started in the outdoors. Learn about the basics of fishing, camping, and exploring to help you have a better experience next time you Go Outside.
Sign in for exclusive content
Please enter your details.
We cannot find an active B.A.S.S. Membership for the information you have provided. Please renew your membership here.We cannot find an active B.A.S.S. Membership for the information you have provided. Please try again.Scheduled maintenance. We'll be back shortly. If you continue to have trouble please contact customer service at 877-BASS-USA.


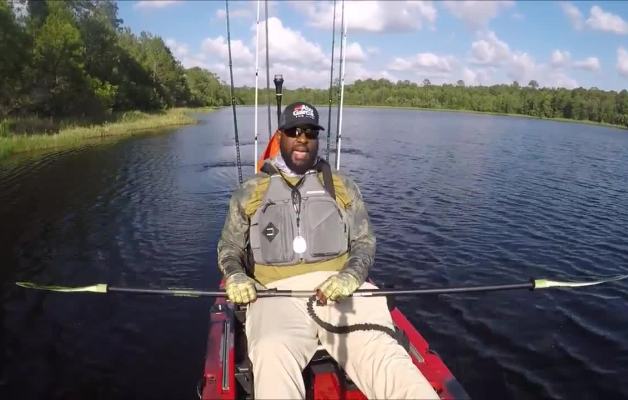

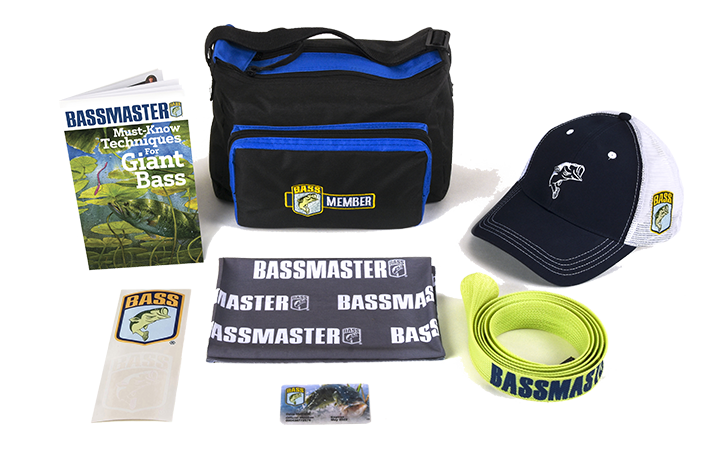
Join B.A.S.S
Membership Includes 1 Year Bassmaster Magazine, Plus $50 in free gear.